

Fast speed, almost no repair traces, strong and durable adhesion, perfectly solving all the troublesome problems in the past repair of plastic lampshades. Today, based on real practical experience, we will completely disassemble this practical repair method, practical details, and key points to avoid pitfalls. At the same time, we will expand other applicable scenarios on the vehicle, and ordinary people can also easily master it.
The conventional car lamp covers are mostly made of PC (polycarbonate) and PMMA (acrylic) materials. They are prone to damage from daily knocks and are likely to age and crack.
The commonly used AB glue and ordinary epoxy repair materials in the past had obvious shortcomings in practical application: the drying time was very long, they turned yellow and foggy after being used for a period of time, and they were prone to detaching and cracking when exposed to temperature changes, resulting in a high rework rate.
And the UV-curable repair materials made of plastic precisely address these issues, which is the core reason why they have become increasingly popular:
The curing process is extremely fast and there is no need to wait for a long time.
The coagulation reaction is triggered by ultraviolet light ranging from 365 to 395 nanometers. At room temperature, it can be preliminarily shaped within a few seconds, and it can reach a firm state in just one or two minutes.
Compared with traditional adhesives that take several hours or even overnight to dry, with this solution, after the repair is completed, the vehicle can be driven normally, and it can be cleaned without affecting daily use. It is suitable for rapid repair needs.
2. Extremely transparent, with the repair marks almost invisible.
The qualified curing material has an extremely high transparency after drying, and it is also equipped with a formulation that is resistant to aging and prevents yellowing.
Even when exposed to long-term outdoor sun exposure or operating in a high-temperature cabin environment, this lamp does not tend to turn yellow, white, or foggy. The repaired area has a texture that is basically the same as the original factory lamp cover, and there will be no ugly patch marks.
3. Excellent bonding strength, suitable for complex operating conditions of vehicles
The operating environment of car lamp covers is actually very demanding: high temperatures in the cabin during summer, low temperatures with frost in winter, stone impacts from high-speed driving, and regular high-pressure water jet rinsing.
After UV curing, a stable gel layer structure with moderate hardness will be formed. It has good adhesion to plastics, ABS and a few metal materials. It is resistant to high and low temperatures, impact resistance, and erosion. It is unlikely to crack or fall off over a long period of use.
4. The entry barrier is low, allowing beginners to operate independently.
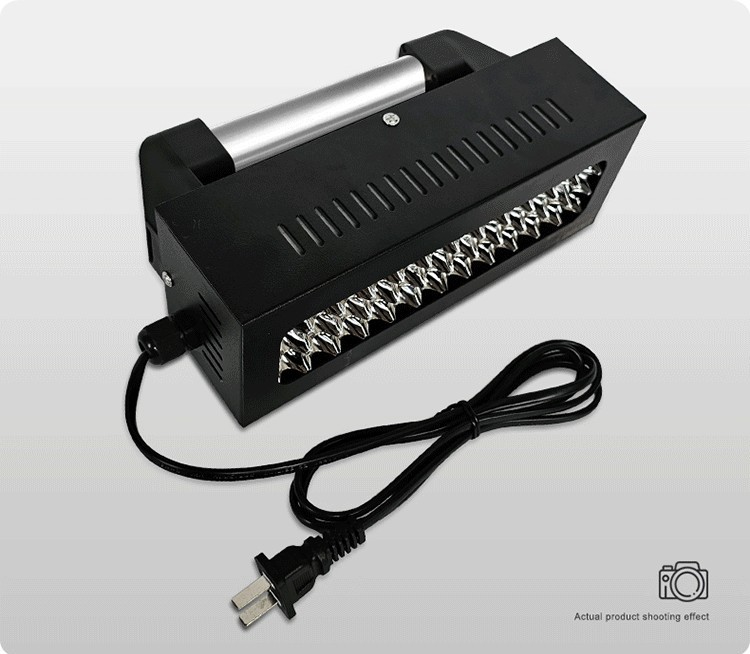
The entire set of tool accessories is reasonably priced and only requires a portable curing lamp, repair glue, scraper, and fine sandpaper as the basic tools.
The process is simple and easy to understand. No professional equipment or complex technology is required. Whether it's quick repair at the store or DIY by the car owner, it can be easily operated.
II. Complete Practical Process for Repairing Cracked Lampshades + Key Tips to Avoid Common Pitfalls
To enhance the final strength and appearance, seven-tenths depends on the pre-treatment, and three-tenths on the materials and the operation. Every step detail is crucial.
Step 1: Surface cleaning and fine pre-treatment
First, use alcohol or a special cleaning solution for plastics to thoroughly wipe the damaged area and its surrounding areas clean, completely removing oil stains, dust, and moisture to prevent the adhesive from not bonding firmly or peeling off at the edges later.
If there are raised edges at the crack ends, you can gently smooth them out using a utility knife. Be sure to use gentle pressure to avoid damaging the original lampshade.
Finally, use a fine sandpaper with a grit of 2000 or higher to gently sand the inner side and the surface layer of the crack. The adhesion of the contact surface after the gentle sanding will significantly improve, making the repair more durable.
Step 2: Layered glue filling + segmented curing
Use a syringe or a thin tube to slowly inject the repair adhesive into the gap, filling it as much as possible and minimizing the presence of bubbles.
Use a small scraper to gently flatten the adhesive surface to ensure that the adhesive layer is evenly adhered. Then, use a curing lamp with the appropriate wavelength and sufficient power to irradiate and cure it at a close distance.
Here, we would like to particularly remind beginners: For deep cracks and wide cracks, do not apply too much glue at once.
It is recommended to apply the filler in two to three thin layers. After each layer is completely cured, proceed to apply the next layer of glue. Applying the glue in one go is prone to causing the surface to dry out while the interior remains un-cured. This can lead to cracking and peeling off later.
Step 3: Post-processing refinement, brightening, and restoring texture
After the entire process is fully solidified, use fine-grit sandpaper with a high number of dots to gently sand down the excess glue edges and raised areas, and smooth out the repaired area.
In addition, apply plastic polishing cream for polishing and brightening. If necessary, lightly spray a protective color coating on the surface, and then the original transparent luster of the lampshade can be fully restored.
If the lampshade itself has oxidized and turned yellow, and the surface is cloudy, it is recommended to first carry out a surface oxidation layer renovation process, followed by crack repair. The overall effect will be much more perfect.
III. Universal for the entire vehicle! Numerous practical applications for UV-cured repair.
Not only the lamp covers, but also most of the plastic trim pieces and small accessories on the vehicle can be repaired using this solution. The practicality is top-notch.
Interior components refurbishment and repair of the vehicle
The minor cracks and chips on the interior control panel and plastic trim panels of the vehicle can all be repaired with this material.
After drying, there is no color difference or whitening. The concealment effect is excellent. At the same time, it can withstand the high temperature inside the vehicle and will not soften or delaminate due to summer sun exposure or the rise in interior temperature.
The plastic cover for the interior ambient lights and the fixation and bonding of the transparent components are also very suitable. They are firmly attached without affecting the light transmission effect.
2. Minor repairs and replacements for exterior parts of the vehicle
The metal vehicle logo and letter decorations have fallen off. There is no need to repeatedly stick double-sided tape.
Using the cured glue for fixation, the shaping process is fast and the adhesion strength is high. It is not likely to fall off even under wind and sun exposure. The durability is far superior to the conventional sticking method.
The electric rearview mirror lenses are loose or fallen off. Especially for the lenses with heating function, precise glue application and curing can quickly restore their original position and fix them without damaging the internal heating circuit, and it will not affect the original vehicle functions.
3. Practical Assistance for DIY Vehicle Modification
The edges of the vehicle body decals and personalized stickers are prone to peeling and chipping. By applying a small amount of glue at the edges and curing them, the durability can be significantly improved, preventing peeling and water seepage during high-speed driving.
The interior is equipped with wiring for ambient lights and decorative strips. The fixings are securely fixed with UV glue, which will not run or overflow. The positioning is precise and the surface is clean and tidy. If adjustments are needed in the future, they can be easily disassembled by using the detaching agent, leaving no residual glue.
IV. Selecting Materials with Caution! Criteria for Choosing Materials That Even Ordinary People Can Understand
If the material is not chosen correctly, even the most meticulous operation can lead to failure. When using it daily, prioritize choosing based on the material, working conditions, and quality.
Select the model according to the repair material.
Lighting, acrylic, and plastic trim repair: Preferentially choose plastic-specific products. Optimized for PC and PMMA materials, with stronger adhesion.
Metal tags, metal accessories + plastic joint positions: Select multi-material universal models, suitable for composite material bonding scenarios.
2. Select the curing speed based on the usage scenario
Store quick repair service, emergency patching for small cracks: Choose the quick setting type. It takes only a few seconds to locate, resulting in higher efficiency.
Large-scale leveling and meticulous renovation: Choose the slow-drying type with better leveling properties. The surface of the glue will be smoother and the quality texture will be more delicate.
Long-term repair for outdoor and exposed areas: Focus on choosing compliant products that are resistant to yellowing, durable against aging, have no odor and are solvent-free, and can withstand long-term exposure to sunlight and rain.
3. Several common misconceptions that beginners should avoid
Be cautious when purchasing low-priced bulk unbranded materials. Many of these cheap products have issues such as incomplete curing and short-term yellowing and brittleness, resulting in extremely high rework rates.
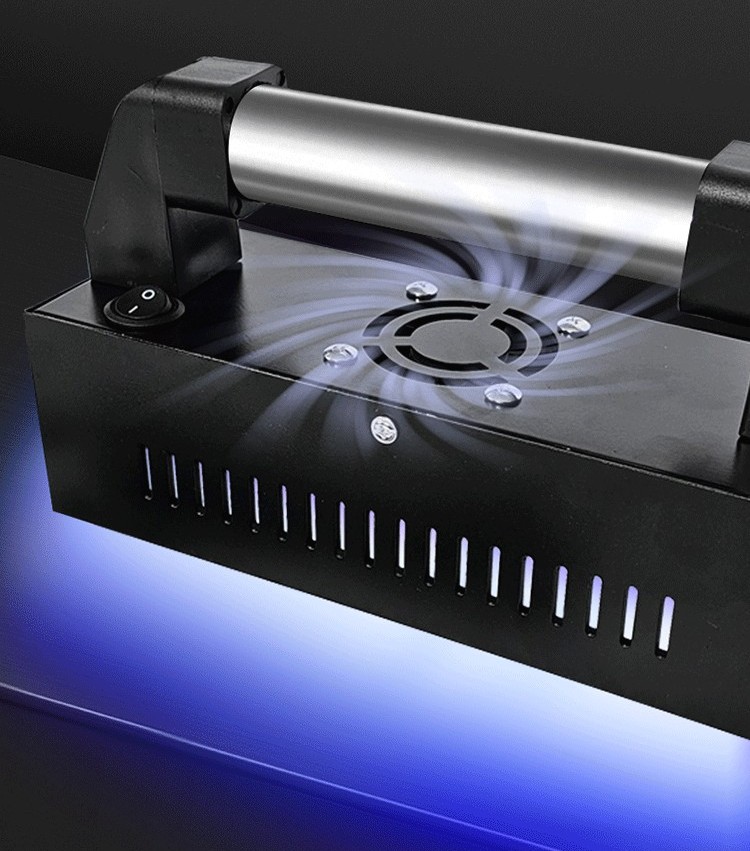
In terms of tools, it is preferable to choose portable curing lamps with standard wavelengths and sufficient power. Lamps with insufficient power or mismatched wavelengths are prone to false curing in low-temperature environments, appearing dry but actually not stable.
Summary
The operation is simple, the cost is low, the effect is natural, and the durability is strong. Whether it's repairing the car lamp cover, renovating the interior, fixing small parts, or performing daily modifications and reinforcement, it can handle all these tasks. It is an extremely cost-effective maintenance tip for vehicles.